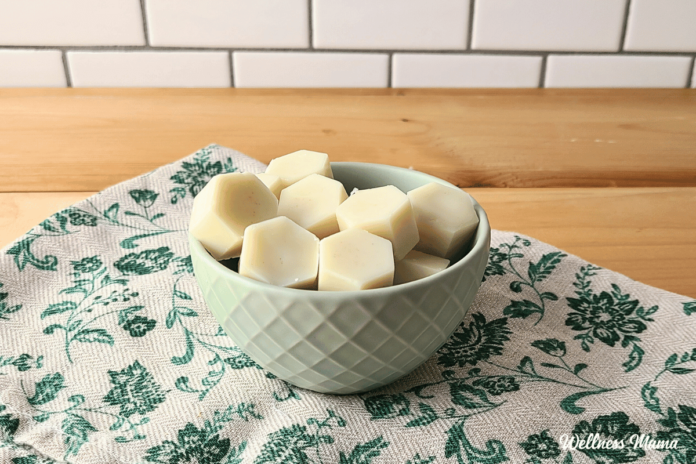
In a world filled with mass-produced scented products, creating your own DIY wax melts with essential oils offers a unique and personalized way to fill your home with delightful aromas. Not only are these wax melts a fun crafting project, but they also allow you to control the ingredients and avoid harsh chemicals often found in commercial products.
The first step in making your own wax melts is choosing the right wax. Paraffin wax is a common choice, as it is readily available and melts easily. However, soy wax and beeswax are also excellent options for those looking for more natural alternatives. Soy wax is biodegradable and burns cleaner than paraffin wax, while beeswax has a lovely natural fragrance and is known for its air-purifying properties.
Once you’ve selected your wax, it’s time to gather your essential oils. Essential oils come in a wide variety of scents, each with its own unique benefits. For a relaxing atmosphere, consider lavender, chamomile, or ylang-ylang. If you’re looking for an invigorating scent, try peppermint, eucalyptus, or citrus oils like lemon or orange. You can also mix different essential oils to create your own custom blends.
To start making your wax melts, you’ll need a few basic supplies. A double boiler or a heat-safe bowl placed over a pot of simmering water is ideal for melting the wax. You’ll also need some molds to shape your wax melts. Silicone molds are popular as they are easy to use and release the wax melts easily. Additionally, you’ll need a thermometer to monitor the temperature of the wax and some stir sticks or spoons.
Begin by melting the wax in the double boiler. Heat the wax slowly over low to medium heat, stirring occasionally until it is completely melted. Be careful not to overheat the wax, as this can cause it to burn or lose its fragrance. Once the wax is melted, remove it from the heat and let it cool slightly to around 120-130 degrees Fahrenheit.
Now it’s time to add your essential oils. The amount of essential oil you use will depend on your personal preference and the strength of the scent you desire. As a general rule, start with about 10-15 drops of essential oil per ounce of wax. Stir the essential oils into the melted wax thoroughly to ensure they are evenly distributed.
Once the essential oils are mixed in, carefully pour the wax into your molds. Let the wax melts cool and harden completely before removing them from the molds. This may take several hours, depending on the size and thickness of your molds.
Your DIY wax melts with essential oils are now ready to use. Place them in a wax warmer or melter and enjoy the beautiful scents that fill your home. These wax melts make great gifts as well, so consider making extra batches to share with friends and family.
In conclusion, making your own wax melts with essential oils is a simple and rewarding DIY project. With a little time and effort, you can create personalized scents that enhance the atmosphere of your home and promote relaxation and well-being. So gather your supplies, let your creativity flow, and start making your own deliciously scented wax melts today.
Have you tried making DIY wax melts with essential oils? Share your favorite scents and tips in the comments below.

